Here are some tips that I plan on passing onto my brides for their wedding days! Enjoy!
· Planning your timeline
-I’ll be contacting my brides a few weeks prior to your wedding to request a timeline with the where’s and when’s of your day but here are a few things to consider:
- Wedding activities typically take longer than you think. If your ceremony starts and ends on time that’s awesome but assume it will take a little longer.
-Are you having a receiving line after your ceremony? If so, do you want me to come pull you away from it after a certain amount of time or do you want it to just run as long as it does? Guests typically want to chat with you so during/after a receiving line so let me know if you want me to keep things on a tight schedule.
-How much time have you set aside for photography with your bridal party? “Formal” photos vary in priority from couple to couple. I recommend between 2-3 hours for formals (less than 2 can be a little tight/rushed; more than 3 is rarely necessary).
· Prepping your Getting Ready space
-Rarely is a house abundant in beautiful natural light and it’s definitely not a requirement but it definitely is an asset. Consider getting ready in a room with the best natural light.
-Consider the overall look and details of the room you’re getting ready in. If you keep pinning images that have a bride admiring herself in a gorgeous, tall mirror then consider purchasing/borrowing a mirror so that photos like that are an option. If you have gorgeous details be aware of their surroundings (cluttered dressers, shoe racks, etc.). I’m a “shoot in your surroundings” type photographer so I shoot things “as they are”. I happen to think that a dresser covered in hairbrushes and makeup is just fine because it says something about the busy-ness and fun of getting ready but just be aware that if it’s there during photos it will likely be IN your photos.

· Bridal Boudoir
-A few of my brides have allowed me to whisk them off to a private room for a quick shot of them in their bridal lingerie. Let me know if you’re game for this :)
· Getting into your dress
-I’ve had some brides only want their mom in the room helping them get into their dress for a more “intimate” type feel as well as brides who want their bridesmaids helping them get dressed for a different vibe. Think about if you have a preference.
-Again, consider a room with the best light.
-Get into it earlier than you think. A lace up dress is never done up in 10 minutes (in my experience).

· Are you doing a First Look?
-Are you doing a “First Look” and/or having all of your formals taken prior to your ceremony? This is becoming a common trend and can be really fun (not to mention that you might feel your “freshest” for the photos seeing as you just had your hair and makeup done)!

· Do you have a videographer?
-If so, please let me know so that I can plan on having to work around them. Did you hire a professional videographer or is it a friend or relative? Do you feel like either the videographer or the photographer is a priority? These questions might seem harsh however there are reasons why I’d like to know the answers. You’ve paid a few thousand dollars to have me photograph your wedding; if a cousin is video-taping your ceremony (and/or the rest of the day) as more of a favor then it may affect my decision to cut in front of them at certain times to ensure I get an important shot. One bride asked her friend to video tape her ceremony and he set up his gear right in the middle of the centre aisle. Needless to say, he took away a lot of opportune shots by being there and so, in order to get what I needed, I had to step in front of his camera on occasion. On the flip side, if you feel that video is a priority then I can definitely work with/around a videographer with your understanding that I might not get certain angles/shots due to staying out of the videographer’s way.
· Consider an “unplugged” wedding (or at least an “unplugged” ceremony)
I 100% understand that your guests want photos of you at your wedding and I’m cool with it. However, something to consider is the number of cameras, phones, even ipads that somehow seem to be snuck into that shot of you walking down the aisle. The industry calls them “Uncle Bob” (the guy who’s in the background or foreground of your wedding, always with his camera up, often in the way of your hired photographer). Like I said, it’s ok. It’s something that happens at every wedding. However, you hired me for a reason so it’s also cool if your guests are invited to leave their cameras away and simply enjoy your wedding :)
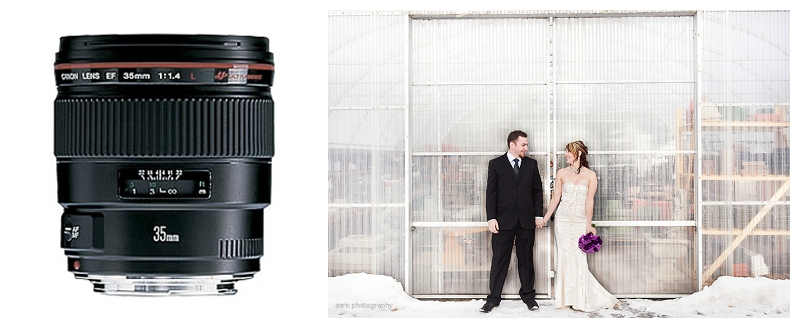
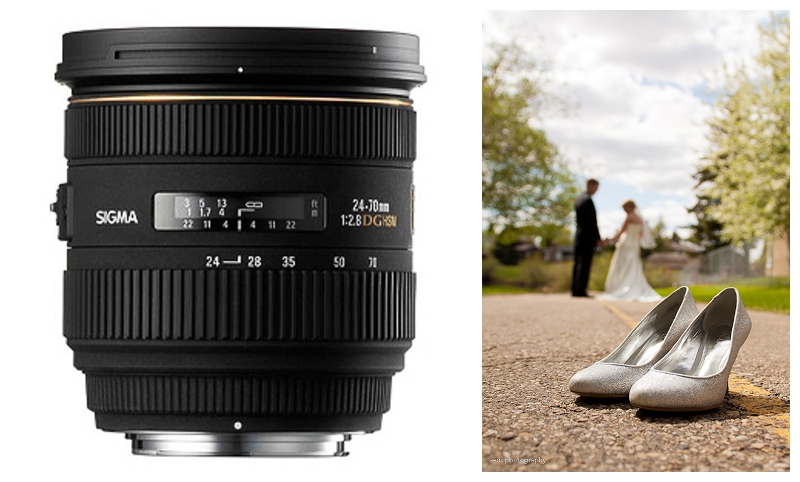
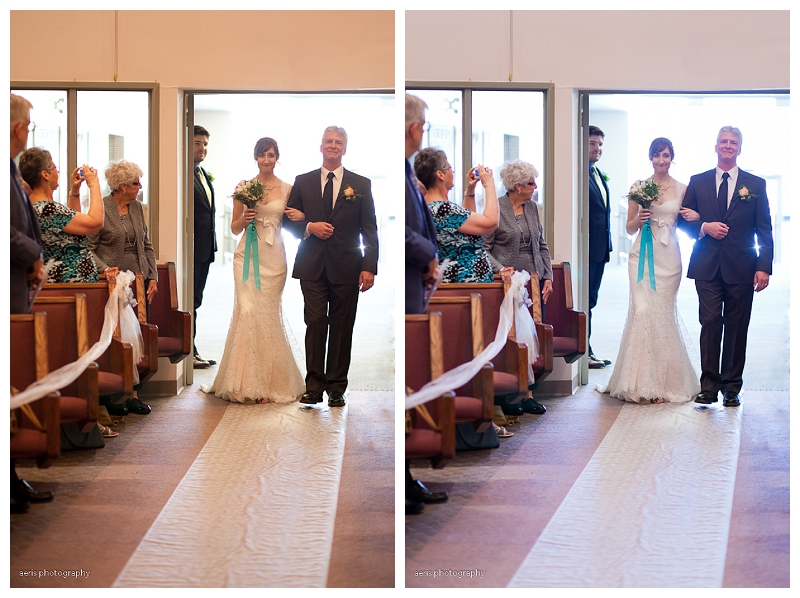
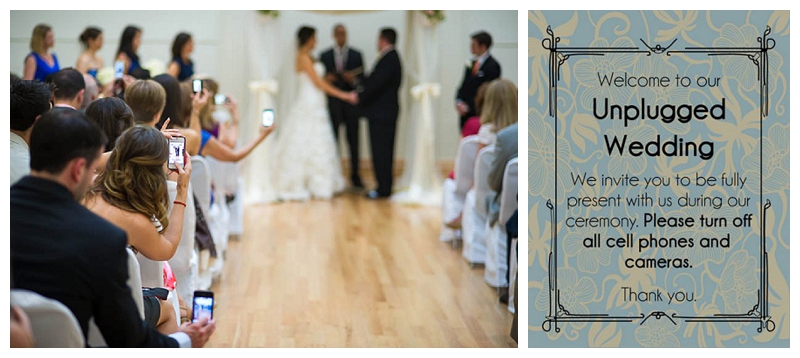 Image on left courtesy of Amber Wilkie Photography. Image on right courtesy of offbeatbride.com.
· Family Photos
-If you’re having family photos taken then create a family shot list (I’ll ask you for this a few weeks prior to your wedding as well). Let the family who you’d like to be involved know so that they stick around.
-Obviously, I’ll photograph your family photos wherever you’d like but I would really recommend having them done immediately following your ceremony, somewhere right outside the ceremony venue. Family photos taken at a second location tend to take a lot longer than anyone plans for due to the number of cars that need to get to that second location.
· Go easy on the Pinterest requests
-Pinterest is AMAZING for ideas and inspiration for planning your wedding. Photographers drool over the idea of shooting a wedding full of pinterest-inspired details but try not to get too caught up in “must-have” shots. I see so many pins that say “Make sure my photographer does this!” and “A photo with my groom doing a fist pump during the first kiss is a MUST!” I’m totally game for trying new things but, your groom might not do a fist pump while he’s kissing you and I always hope that my brides can just stay in the moment and go with what’s happening during their day. Also, I hope you’ve hired me for me and my personal photography style. If there are photos that you really want to try then maybe try to limit the list to around 5 ideas and then understand that I can take that idea and create something (rather than duplicating something) based off of it.
· Laugh and Love the skin you’re in
-If you’re hiring me I’m assuming you’ve looked at my portfolio and liked what you saw. I’m also assuming that the things that might have drawn you in are, in huge part, the emotion, fun and laughter I’ve had the pleasure of capturing. I’m assuming you weren’t scouring images for stomach “bumps” or arm size or double chins. I’ve taken a bit of a stand on how I don’t do body altering in my images. Yes, I sometimes make a note of which angle is more flattering than another but I will not interrupt your groom from whispering something into your ear in order to make the scene “more perfect”. What could be more perfect that catching that moment on its own?? So I suggest you just relax. People are drawn to the real you, not a “perfect” you. So just be yourself :)

· Light
-Sunny, hazy, photos taken at dusk won’t be the same as midday photos taken in January. Both can be awesome but they won’t be the same. It’s just good to know.

· What if it rains?
-Consider bringing matching umbrellas for your bridal party (clear or neutral colored umbrellas are ideal) and maybe even coordinating rainboots.
-Although I can absolutely give suggestions for both indoor and outdoor locations it is your responsibility to have a backup plan in place should weather require that we shoot indoors. Be aware that the majority of locations in and around the city require that they are booked in advance and typically come at a cost (even if you don’t end up using it) so I recommend looking into this a few months prior to your wedding.
· And what about snow?
-You may not be able to have all of your photos outside during the winter but consider bringing some “cover-up” styling options for a few unique photo ops outside (scarves, cardigans, belts…even toques/beanies!). You’d be surprised at how far a bit of creativity goes!

· Additional fees, permits
-Edmonton venues have definitely caught on to the fact that photographers want to shoot everywhere and, unfortunately, that sometimes means that you need permits for certain locations so please plan/book accordingly.
-Please also plan to account for parking costs for your limo driver/bridal party transportation and your photographers.
· Food
-Bring water bottles and “no-stain” type snacks for your bridal party. This definitely helps keeps energy and spirits up for pictures.
· Footwear
-Walking around in heels for hours is draining even for an avid-stiletto wearer. Consider wearing and/or bringing comfy shoes for the walking around parts.
-Consider shoes appropriate to your photography locations. Stilettos that sink into the grass if you’re shooting at a park are not fun for any bride/bridesmaid that I’ve seen. Plus, it gets dirt all over the spike of your shoe. Food for thought.
· Feed your vendors
-If you have hired me to cover your reception then please have an assigned place for me (and my second shooter) to sit and eat (Don’t forget to feed your DJ, too!). Consider arranging for your photographer’s table to be served near the beginning of the meal so that we can be finished and ready for when the program begins.
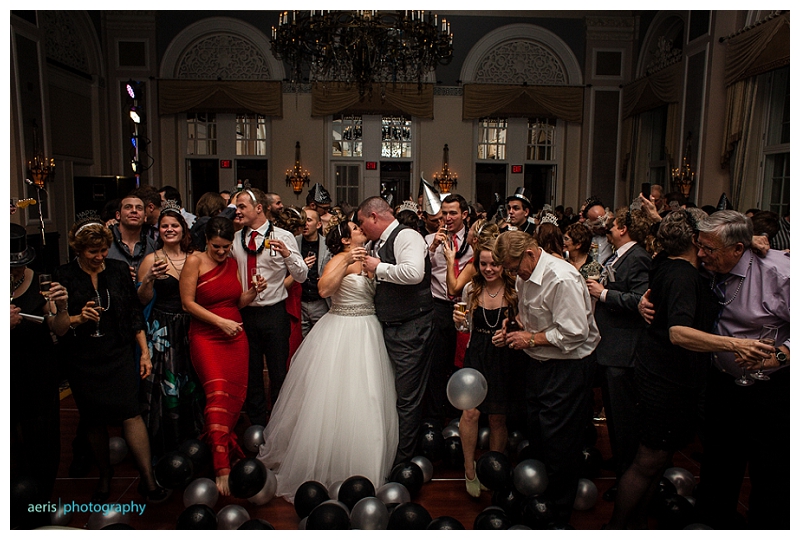
· Are you planning a grand exit?
-Credit is again due to Pinterest for the plethora of gorgeous “grand exit” ideas. Something to consider is that if you’re doing a grand “Everyone-hold-a-sparkler-in-a-row-so-that-we-can-run-through-it” exit simply because you want an awesome photo of it then remember to account for that exit in the timeline of when your photographer is still scheduled to be present.

· Relax
-Rarely is everything perfect and on-time at a wedding. Something may be forgotten. If you can, send someone for it. In the meantime, just relax and roll with it. You get to marry your Love. And that’s awesome.
 I'm just wrapping up another year of business and I have to say that every year I've grown. A lot. I'm ready to spread the love and share the in's and out's of what I've learned in my journey thus far so I'm now opening spots to my first Edmonton wedding photography workshop!


 *photo courtesy of Erin Walker Photography
 *photo courtesy of Erin Walker Photography


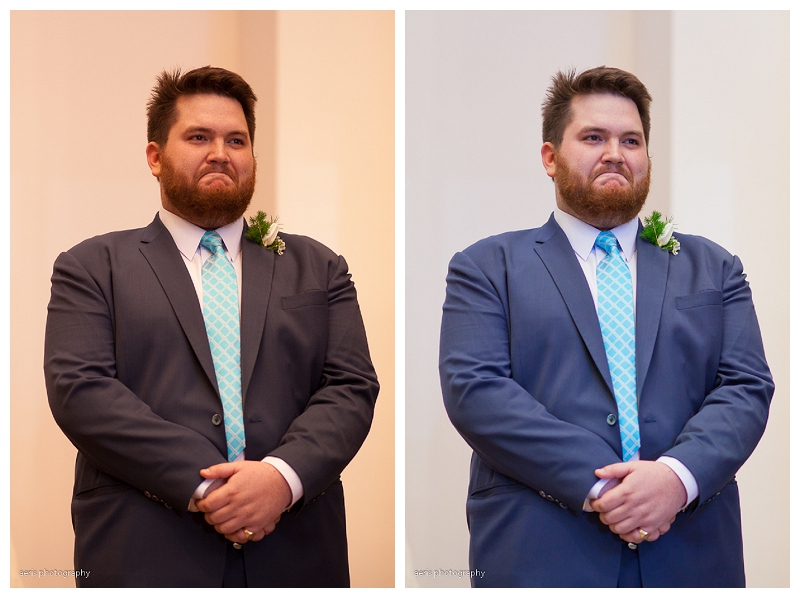 ISO 1250, f2.2, 1/160
 ISO 1250, f2.2, 1/160


